Tag Archives: Update

Sideboard Restoration/Upcycling Complete!

A little over 2 weeks ago I posted about a Sideboard I was in the middle of restoring/upcycling for a customers holiday house on the coast. Since that time the finishing touches were added and today we got around to delivering and setting it up.

I thought I’d take a few before and after pictures to show the difference a functional piece of furniture (being over 60 years old) can make to ANY room in your house. Sometimes we get too caught up in ‘dressing’ up a piece for a photoshoot that we forget it’s original purpose. I mean lets face it, we don’t all have Murano glass, bitossi bulls and period artwork pieces to decorate our sideboards with, so it was extremely refreshing to see just how good the sideboard looked today.

Before

Before picture of a coastal homes lounge room


After

Coastal Lounge Room with Restored Mid Century Sideboard


As you can see, the sideboard fits in perfectly. It does everything a good, functional sideboard/TV unit should, whilst bringing a nice touch of 1950’s design along with it. I really like the combination of materials here, and how they all seem to blend seamlessly into one. We have the original maple veneer/solid timber base, the industrial look pine plywood, the vivid white backs/middle display section and the glass sliding doors/middle display shelf.

The new owners are over the moon and couldn’t be happier with the way everything turned out.

Be sure to get in contact if you are facing a similar situation. We are always happy to discuss ideas and see in what ways we can help!

Name Reveal, New Website & Blog!

It’s been a few months in the making, but I am happy to finally reveal our new business name, online store and blog!

From now on we will be known as ‘20th Century Salvation‘. Our online store is found @ http://www.20thcenturysalvation.com.au and our blog here – http://www.20thcenturysalvation.com.au/blog

So, why the name change you may ask? We wanted a business name that was more relevant to what we actually do, which a lot of the time is saving beautiful pieces from the 20th Century that are so often teetering on the edge of being lost forever.

To go with our new business name we had a new logo designed by Andrew at http://www.andrewkeir.com/. We were extremely happy with the end result and would highly recommend his work.

New logo of 20th Century Salvation.

Of course with a new logo design comes new colour schemes which we have implemented into the new online store theme.

Overall there has been a lot of work put in behind the scenes to bring you what you see today. We are over the moon to of reached this milestone and cannot wait to get back to blogging a lot more frequently along with adding a heap of new items to the online store.

For those wondering our old site @ www.stillbroke.com.au will continue to run and be monitored for the next few weeks until we have our redirects in place. At that time we will then point all of the traffic to our new address here.

Almost Time.

For those of you who frequent the website you may of noticed some colour changes with the theme of late. These colour changes are related to an upcoming business name change, along with new website address that hopefully will be launched within the next 4-6 weeks.

We are very excited about launching our new name, along with the new website theme & colours.

Watch this space for more info!

How time flies…….

Wow, November already! It seems like it was only just yesterday when I was setting up the blog and getting the online store ready for its launch.

Over the past 2-3 months you have probably noticed that the blog posts & our ebay listings have been a little slow. This has been due to myself starting a new ‘full time’ job which takes up most of my day.

Now although the surface looks quiet, underneath we have been as busy as ever chasing new pieces for the online store, restoring furniture along with starting to plan the construction of a ‘studio’ that will be used to house all of our pieces in one place along with offering the customer the opportunity to view our items via appointment. Although it’s still a few months off we are extremely excited about the studio and what it will allow us to do!

Updates & Changes

Tonight I thought I’d post a small update on some changes that we will be implementing in the coming weeks.

Up until now, larger items we came across were listed both in the online store & on eBay at random times. We are trying to move away from this randomness, and into a more structured way of doing things.

The plan is to list our larger furniture items in our online store during the first week of every month. For example so far this week (being the first of the month) we have had come online –

  • Danish Deluxe 3 piece lounge suite
  • 1950’s Combination Unit

Along with plans to list a

  • Parker Coffee table
  • Retro Teak Drawer Unit
  • John Grimes Telephone Table
  • Large fully refurbished sideboard/buffet

by weeks end.

Our eBay account will continue to list items weekly, focusing more so on smaller items, however larger items definitely will pop up for auction from time to time.

The blog as it has from the beginning will continue to be used weekly to preview upcoming items, restoration projects, eBay listings along with general information.

Exciting times ahead!

Listings Update

Over the last couple of days the online store has had some new items listed. These include a Teak Parker double/queen size bedhead with bedsides, a nice sectional Noblett bookcase and a 1960’s Teak Veneer buffet. You can browse our recent listings here!

We have also coming within the next few weeks a really cool 1950’s table and chairs, along with a Jens Risom designer table and Parker dining suite. A few of these items will be previewed on the blog so be sure to check back every couple of days for the latest updates.

Last night we also listed 3 items on eBay. One of our teak sideboards/buffets from the site along with a vintage tartan willow esky & thermos. You can view our active eBay listings here.

Last but not least I’ve spied 2 lots of chairs just recently. One set is at a shop, and looks to be a set of tessa chairs, whilst the other set is just around the corner from our home sitting in someone’s garden! Looks to be a 1950’s outdoor setting with a really cool design. Fingers crossed for a fruitful day tomorrow!

And so it begins!

Well, its been almost 4 months since I floated the idea of opening an online store and today it begins! Started listing a few larger items in the Mid Century category today and all is going well.

It’s going to take a little while to get the stock level of the store to a reasonable level (say 50 items +) however I’ll aim to list 2 new items a day and I’m sure before too long I’ll get to a level I’m happy with. Whilst this is happening hopefully my ranking in Google search results will improve also.

I was planning on starting eBay listings last week however that has been pushed back to next week. I’ll start out with a few smaller items to build a bigger feedback rating (currently only @ 4 on the business account) and then look at listing a few of the bigger draw card items!

Exciting times ahead!

Almost there…..

It’s been a busy few weeks, but we are almost ready to launch the online store! Along with launching the online store we also have planned to start listing speciality items on eBay. This will not only help us reach a wider audience, but hopefully start to get our name out there and make people aware of our online presence.

For those of you into social media, we have a Facebook page –  http://www.facebook.com/pages/Still-Broke-Enterprises/192275704223282 along with our twitter account – https://twitter.com/#!/StillBrokeENT. These pages get regularly updated so be sure to keep an eye on both.

In the past few weeks we have been coming across some really great items and cannot wait to have the chance to offer them to you!

Space Age Coffee Table Restoration Update # 2

Busy day today with a good amount of progress. Continuation from yesterdays post below

STEP 3

I was now able to start on the sanding with all the pieces repaired/re-manufactured. Because all of the pieces were coated in the original varnish/shellac finish I started off using some 60 grit sandpaper on my orbital sander. This grit is quite rough but made quick work on the original coating. Once all the pieces were done I moved onto some 150 grit paper. Repeated the process for all pieces and then moved onto some 320 grit paper for the finishing sand. All came up quite nicely as you can see below.

Sanded pieces of a 1960's Coffee Table

STEP 4

With all the pieces of the coffee table now repaired and sanded I started on the reassembly. A fairly straight forward job as all the holes are pre-existing and lined up quite easily. Glued and screwed the legs to the mounting blocks to provide extra stability.

1960's Coffee Table restoration project

You can see that classic space age design appearing again.

STEP 5

With the coffee table now reassembled it’s time to apply a finish. The original finish was a golden oak colour with a shellac/varnish applied over the top. I’m going to go for a darker  (teak colour) oiled finish. I think it will complement the darker teak colours of the retro lounge suites and sideboards it will share it’s space with.

I’ve had quite good success with previous pieces I have restored using a mix of Linseed Oil, Teak Stain and Turps in a 2:1:1 ratio. The reason I add the Teak stain in there is because Victorian Ash in its raw form is a very light coloured timber (white to almost pink) so the stain adds a nice Teak colour to it.

After mixing the 3 elements in my mixing container (lol) I simply apply the finish using a soft cotton cloth. I will reapply the finish 4-5 times letting each coat dry before re-applying. The great thing about having the Linseed Oil mixed in is that once the finish has been applied, that’s it! No need to re-oil over the stain.

Here’s a sneak peak at how its coming along after 2 coats this afternoon.

The applying of an oil based finish to a retro coffee table

Keep an eye out for the finished product next week!

Space Age Coffee Table Restoration Update

I made a start today on the restoration of the Space Age Coffee table I previewed on the blog last week. I’m going to go into a little bit more detail on the steps I normally take when restoring an item and how I go about it. Hopefully this will give you an insight into what I do, and perhaps even share some idea’s for your own projects!

STEP 1

The first step for me when performing a full restoration on an item of furniture is to disassemble it. This way you can see what’s good, what’s not, and what needs repairing. Its extremely important to take a great deal of care during this stage as often joints are nailed, screwed, or glued together. If you miss a screw and you start bashing to get it apart you can seriously damage the piece.

With the Coffee Table I was relatively lucky. The Table top and upright supports coming up off the base were only screwed. The triangular support had 2 nails in it and the glue for that joint was old and brittle so it came apart easily. The hardest part was removing the 4 legs from the underside of the base. These were screwed, and glued. What made it tricky is that the base is a veneer, so I had to gently use a chisel to lever the mounting blocks with legs attached up from the surface. 2 came up easily. 2 did not and took a bit more effort to remove along with damaging a small amount of veneer surface under the mounting block.

Space Age Design Coffee Table 1960's

STEP 2

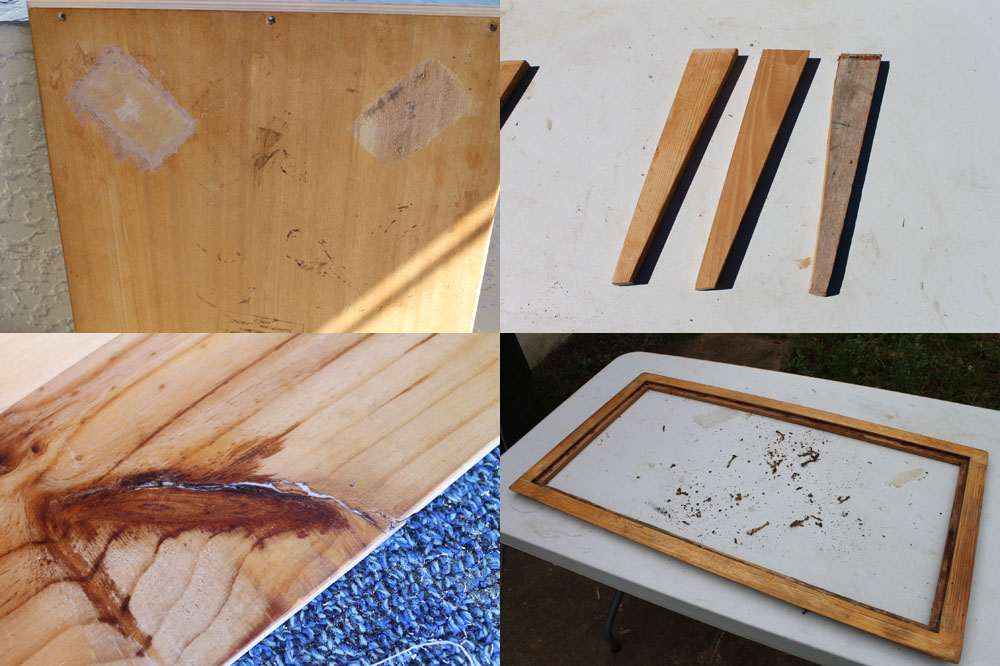
With the coffee table in pieces (note I am leaving the table top an drawer assembled as they are in good solid condition and easy to work with in their current state) the next step is to assess all the pieces, and see what needs to be repaired/replaced.

With the coffee table I had to –

  • Completely re-manufacture one leg.
  • Repair the damaged veneer to the underside of the base (this will be hidden once the legs and mounting blocks are re-attached).
  • Pump some wood glue into a crack in the side of the drawer to strengthen it up.
  • Putty up a few small nicks.
  • Clean the years of food and grime built up inside the coffee table top edge.
1960's Space Age Design Coffee Table

Tomorrow I’ll be tackling the sanding and re-assembly .